An indoor hydroponic garden grows plants in nutrient-rich water instead of soil, entirely inside your home. No yard, no outdoor space, no seasonal limits — just water, nutrients, light, and a little attention.
People are drawn to indoor hydroponics for good reason. Hydroponic plants grow significantly faster than soil, use up to 90% less water, and can produce food year-round regardless of your climate. That's a compelling pitch.
But here's what most guides don't tell you: there are real trade-offs. Electricity costs, pH monitoring, and a genuine learning curve come with the territory. I spent weeks going through university extension research, published cost data, and community discussions so you don't have to. This guide covers exactly what you need, what it honestly costs, which system fits your situation, and how to harvest your first lettuce in 21 days for under $30. All prices in this guide are estimates based on current market data and are subject to change — always check current listings before buying.
What is an indoor hydroponic garden (and how does it actually work)?
An indoor hydroponic garden replaces soil with nutrient-enriched water and replaces sunlight with LED grow lights, giving you full control over everything a plant needs to grow — delivered directly to the roots. That control is exactly why hydroponics produces faster growth and higher yields than traditional soil gardening.
Your plants sit in a grow medium — like clay pebbles (also called hydroton) or rockwool cubes — that anchors the roots without providing any nutrition. All nutrition comes dissolved in the water.
Indoors, LED grow lights replace sunlight and provide the full spectrum plants need for photosynthesis. Most food crops need 12–16 hours of light per day. The result is a closed, controlled system: you manage the water, nutrients, light, and pH. Roots don't have to search through soil for what they need — everything is delivered directly.
The 5 indoor hydroponic systems compared (with honest ratings)
There are five main options for home growers, ranging from a $25 passive jar to an $800 automated tower. The right one depends on your budget, available space, and how much time you want to spend managing it.
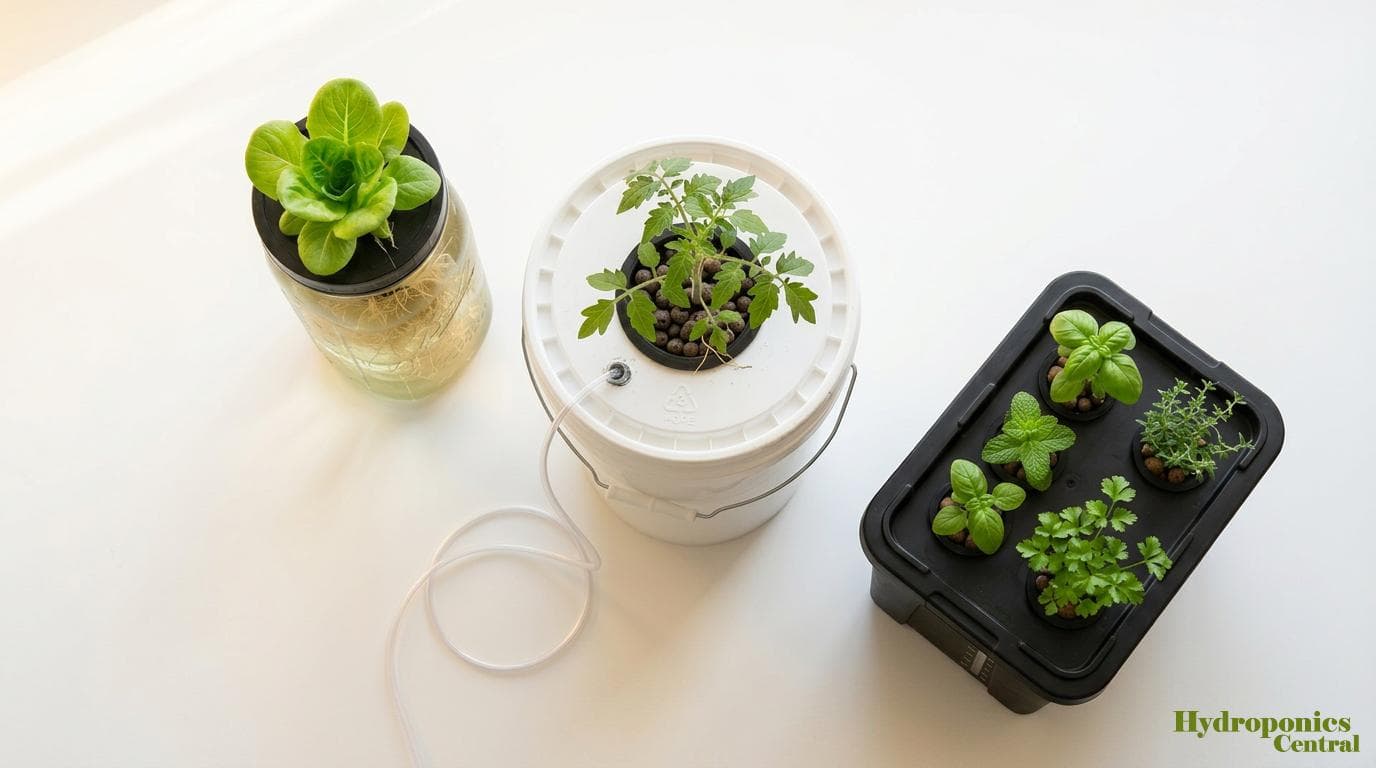
The Kratky method is a passive, non-circulating system developed by Dr. Bernard Kratky at the University of Hawaii. His research on three non-circulating hydroponic methods showed that plants sitting in net pots above a reservoir form a natural air gap as they drink, giving roots oxygen without any pump. No electricity, no moving parts.
Deep Water Culture (DWC) submerges plant roots in an aerated nutrient solution. An air stone connected to a small air pump keeps oxygen flowing. One step up from Kratky in complexity, but delivers faster and more consistent growth across a wider range of crops.
Nutrient Film Technique (NFT) runs a thin stream of nutrient solution through a sloped channel continuously. Efficient for leafy greens but requires a reliable pump and more precise nutrient management.
Ebb and flow (flood and drain) periodically floods a grow tray then drains back to a reservoir. Works for a wider variety of crops but involves more plumbing and a timer-controlled pump.
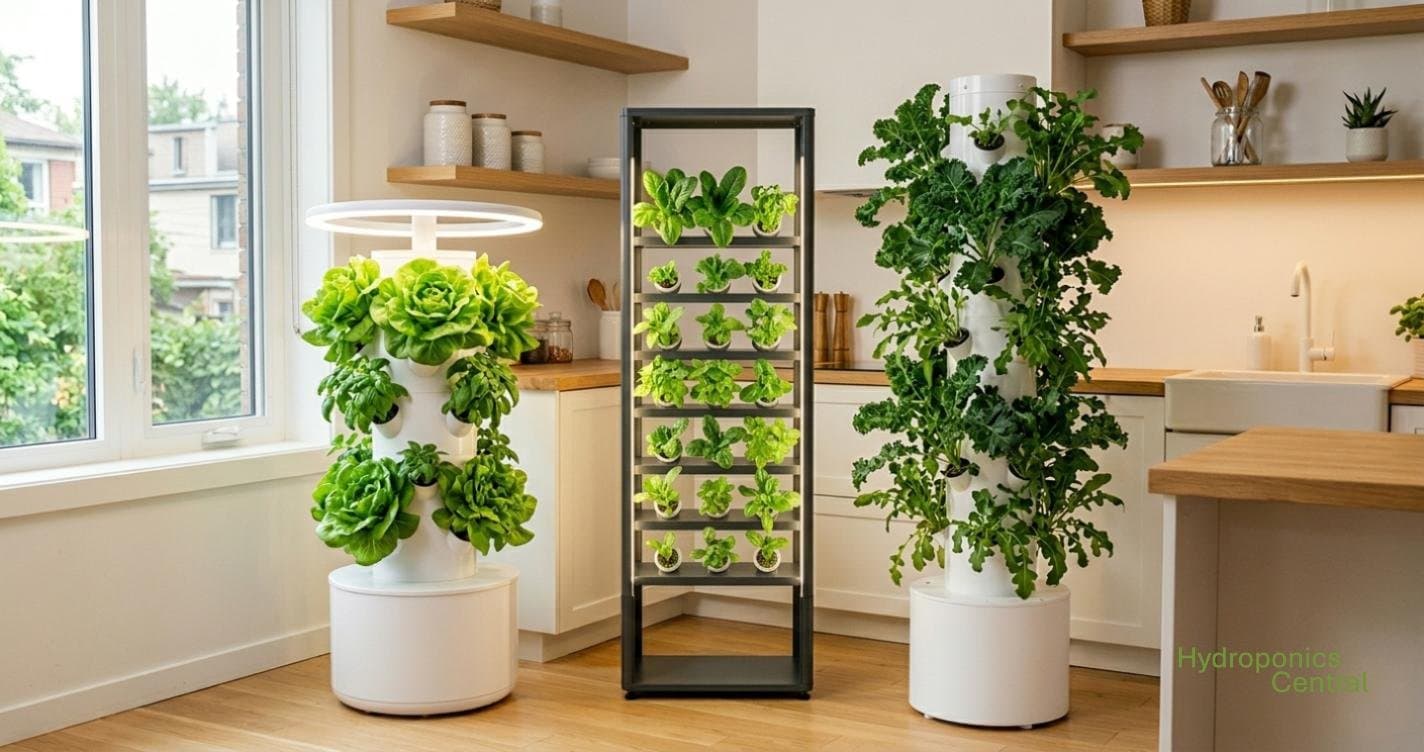
Smart garden towers — products like Gardyn, Rise Gardens, and AeroGarden — are pre-built vertical systems with integrated LED lights, automated watering, and companion apps. Most convenient, most expensive, and they lock you into proprietary seed pods.
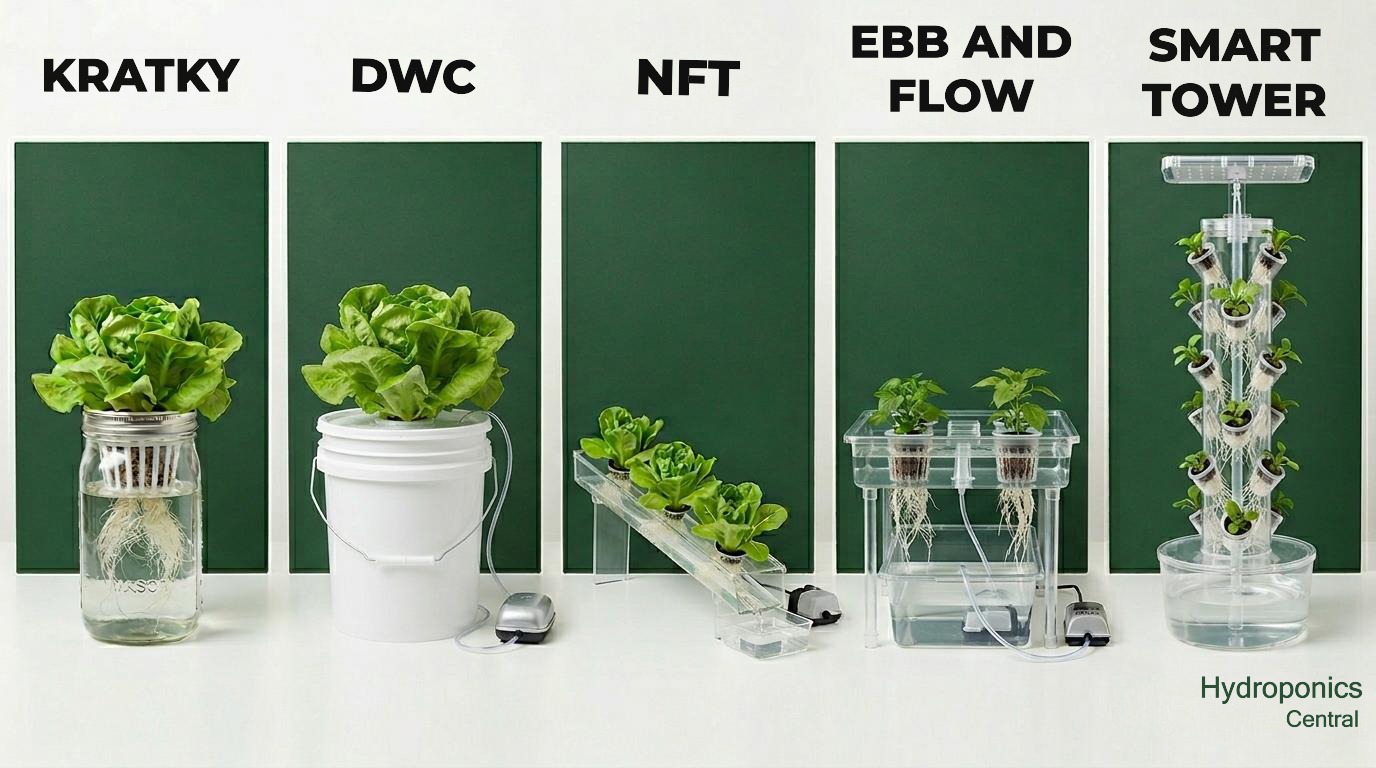
My honest take: if you're starting from zero, begin with Kratky or DWC. Smart towers are great if convenience matters more than cost, but build your skills cheaply first.
What it really costs — startup, monthly, and the grocery math
Hydroponic setups range from $25 for a single jar to $800+ for an automated tower, with the national average setup cost sitting around $650 when you include everything from basic DIY to high-end systems.
For home growers, the real range breaks down like this:
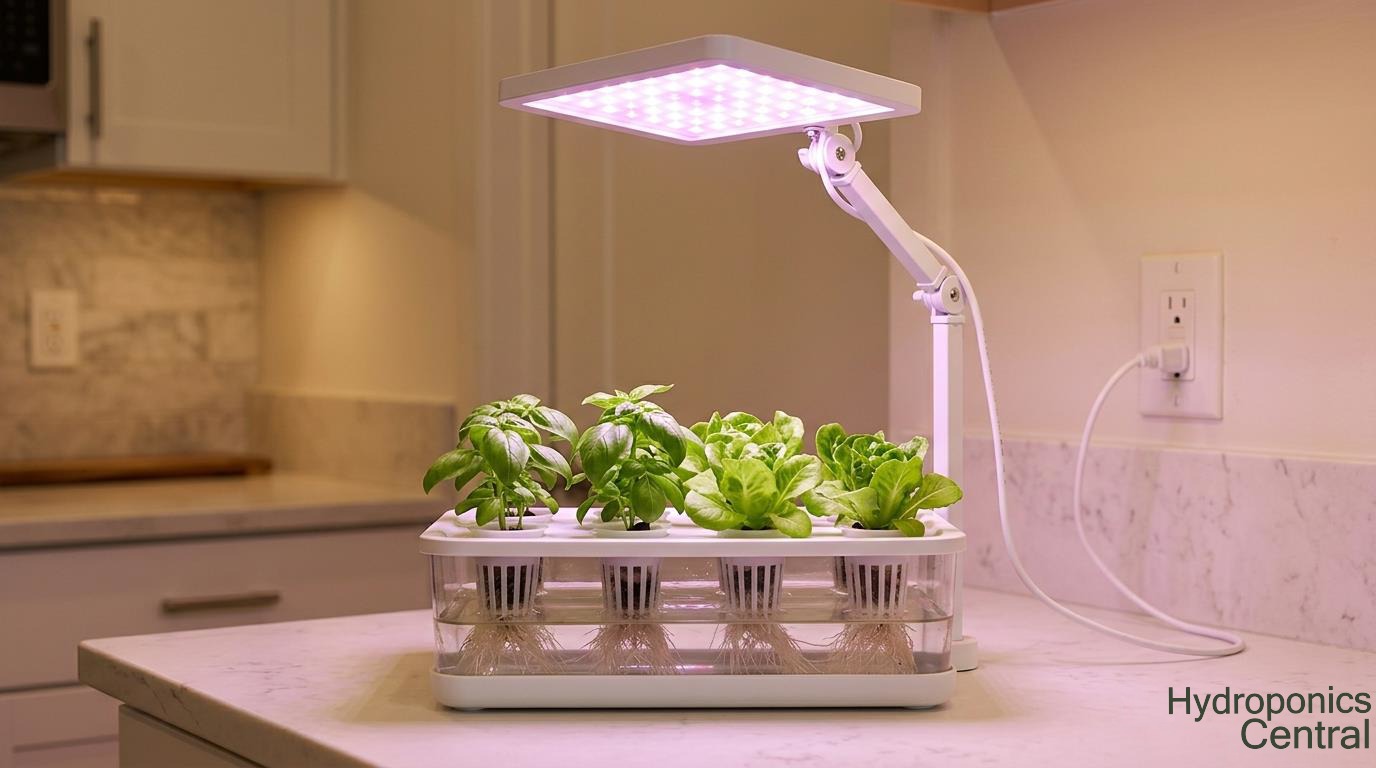
The biggest monthly expense is electricity. A small countertop LED setup draws about 1.75 kWh per day — roughly $8 per month at the average US rate of $0.13/kWh. A medium tower system with larger panels uses around 7.5 kWh per day, adding approximately $34 per month.
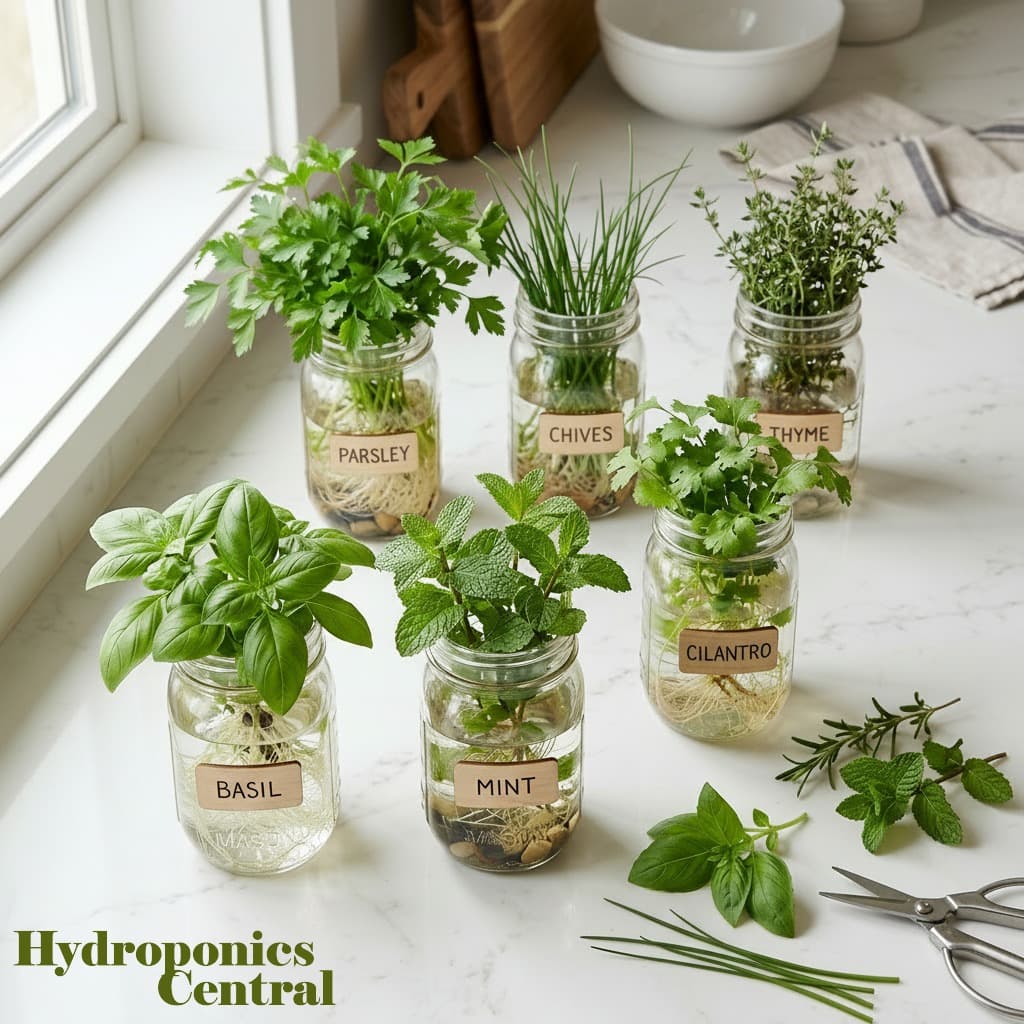
The grocery math: indoor hydroponics saves the most money on herbs. A package of fresh basil costs $2–$4 at the store and lasts a week. A hydroponic basil plant produces continuously for months. Growing basil, mint, cilantro, and parsley could offset $20–$40 per month in grocery costs from a Tier 2 or Tier 3 setup.
What to grow first (and what to skip)
Short-season crops and non-fruiting plants are the best choices for indoor hydroponic production — they grow quickly, tolerate imperfect conditions, and don't need the high-intensity lighting that fruiting plants demand.
Start with these — fast, forgiving, and cheap to grow:
- 1 Lettuce — harvest-ready in 21–30 days. Tolerates a wide pH range and imperfect light. The single most forgiving hydroponic crop.
- 2 Basil — ready in 3–4 weeks for first harvest, then produces continuously for months. Saves significant money versus buying fresh.
- 3 Mint — nearly indestructible. Grows aggressively, so give it its own container to avoid crowding.
Grow these later — once your system is dialed in:
- 1 Cherry tomatoes — need high light intensity (at least 200 micromoles per second — roughly the output of a dedicated grow light, not a window or desk lamp), pollination by hand, and a larger container.
- 2 Peppers — similar light requirements to tomatoes. Need 10–12 weeks to fruit.
- 3 Strawberries — possible indoors but slow. Better suited for experienced growers with tower systems.
For more on growing herbs hydroponically — including the best varieties and common mistakes — see our hydroponic herb garden guide.
First harvest in 21 days — the $30 Kratky starter plan
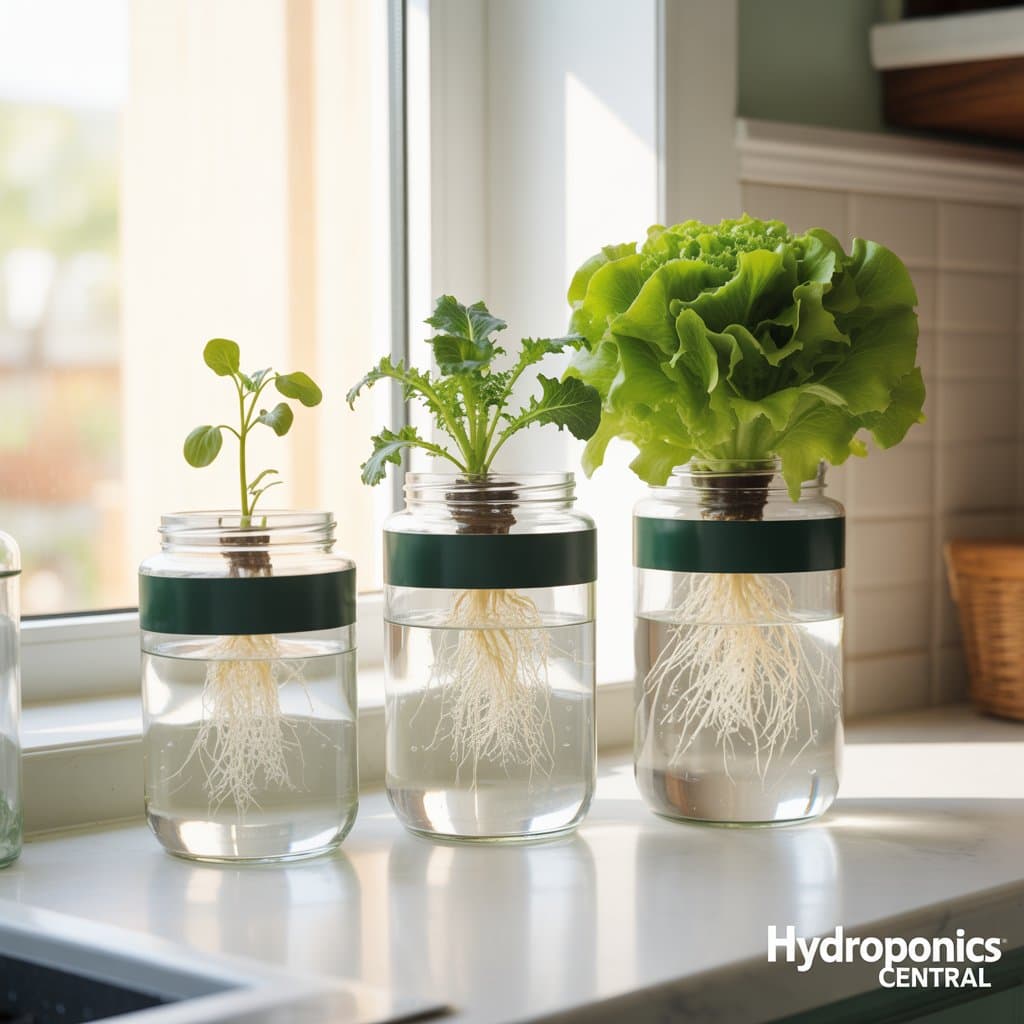
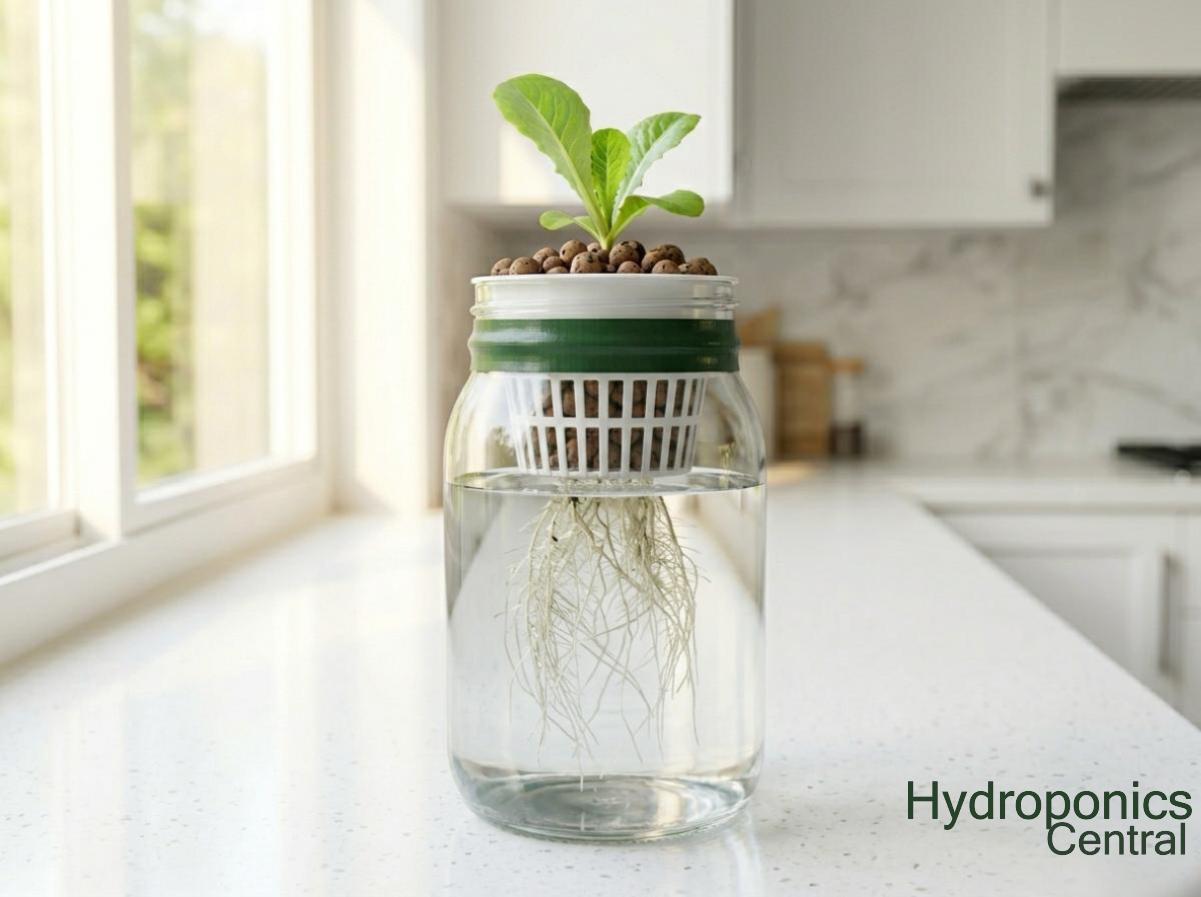
The Kratky method is a passive, no-pump system where the plant feeds itself from a sealed reservoir of nutrient water as it grows — described by UF/IFAS Extension as a "set-it-and-forget-it" approach requiring no electricity or prior experience.
What you need (under $30 total):
- 1 A wide-mouth mason jar or large pickle jar (wrap with tape to block light) — $3–$5
- 2 3-inch net pot that fits the jar opening — $1
- 3 A handful of clay pebbles (hydroton) — $5 for a small bag
- 4 Hydroponic nutrient solution (General Hydroponics Flora series or similar) — $12–$15
- 5 Lettuce seeds (butterhead or romaine) — $2–$3
- 6 pH test kit or strips — $5–$8
Steps:
- 1 Fill the jar with water. Mix in nutrient solution at the recommended dilution rate.
- 2 Test the pH — target 5.5 to 6.5. Adjust with pH up or down solution if needed.
- 3 Place clay pebbles in the net pot. Nestle a pre-sprouted lettuce seedling (or 2–3 seeds) into the pebbles.
- 4 Set the net pot in the jar lid so the bottom of the pebbles just touches the nutrient water.
- 5 Place the jar near a bright window — south-facing is ideal. If natural light is limited, a small clip-on LED grow light ($10–$15) solves the problem.
- 6 Wait. The plant drinks the water, an air gap forms above the solution, and oxygen-absorbing roots develop in that gap. No refilling needed for lettuce — by the time the water drops significantly, your plant is harvest-ready.
Total cost: under $30, and most supplies are reusable. Refill the nutrient water, drop in a new seedling, repeat.
Once you've nailed your first harvest, our DIY hydroponic garden guide walks through building a larger DWC or NFT system for under $100.
The honest pros and cons
Indoor hydroponics grows plants 30–50% faster than soil and uses up to 90% less water, but requires weekly pH monitoring, grow light electricity costs, and a learning curve most guides skip. Here's what the research and real grower communities consistently say:
Pros
- Plants grow significantly faster than soil-grown crops — roots get nutrients delivered directly instead of searching through soil
- Hydroponic systems use up to 90% less water than conventional soil farming — the solution recirculates instead of draining away
- No weeding, no soil-borne pests, and no seasonal limits — fresh lettuce in January in Minnesota works
- Space-efficient — a vertical tower growing 30+ plants fits in under 4 square feet
- Fresher food — harvesting from your kitchen counter means peak nutrition and flavour
Cons
- Electricity adds up — running LED grow lights 14–16 hours per day costs $8–$35 per month depending on system size
- pH monitoring is non-negotiable — outside the 5.5–6.5 range, nutrients become unavailable even if they're in the water, causing yellowing leaves and stunted growth
- Ideal water temperature is 60–73°F — above 75°F, harmful bacteria thrive and root rot sets in fast
- Your first batch will probably fail — overfeeding nutrients, ignoring pH drift, and insufficient lighting are the three most common beginner mistakes
- Fruiting crops need real investment — tomatoes and peppers require high-output LED panels, hand pollination, and larger reservoirs
Troubleshooting: the most common beginner problems
Most indoor hydroponic failures come down to the same handful of mistakes. Here's what goes wrong and exactly how to fix it.
Yellowing leaves
Yellowing leaves in an indoor hydroponic system almost always mean pH has drifted outside 5.5–6.5, not a nutrient shortage. When pH goes out of range, plants can't absorb nutrients even if your solution is perfectly mixed. Test pH first before adding more nutrients — overfeeding on top of a pH problem makes things worse. Adjust with pH Up or pH Down, let the solution stabilise for 30 minutes, and retest.
Slimy brown roots
Slimy brown roots are caused by root rot, which develops when water temperature exceeds 75°F or light reaches the nutrient reservoir. Check that your container is completely opaque — even small gaps let in enough light to feed algae. Lower water temperature if possible (a basement or air-conditioned room helps). Add a beneficial bacteria product like Hydroguard to the reservoir to fight off rot organisms.
Plants not growing or wilting despite healthy roots
Plants that fail to grow or wilt despite healthy-looking roots are almost always receiving insufficient light — a common problem when relying on windowsill light alone. A south-facing window provides less than half the light intensity hydroponic plants need. Add a dedicated LED grow light and set it to run 14–16 hours per day on a timer. If you already have a grow light, check the distance — most small LED panels need to be 6–12 inches from the canopy to be effective.
Algae turning the water green
Green water means light is reaching the nutrient solution and feeding algae growth, which depletes oxygen and competes with roots for nutrients. Wrap every transparent surface with black tape or aluminium foil. Replace the nutrient solution completely, then block all light gaps before refilling.
Nutrient burn (brown leaf tips, crispy edges)
Nutrient burn — brown, crispy leaf tips — means the nutrient solution is too concentrated. Dilute to half the recommended dose, do a full water change, and start again at the lower concentration. Beginners consistently over-feed — less is almost always better than more when starting out.
My take as a curator
Indoor hydroponics is worth it if you go in with the right expectations. Start with a Kratky jar and lettuce — $30, no electricity, first harvest in 21 days. It costs almost nothing to find out whether this is for you before spending $300 on a smart garden system.
If you enjoy that first harvest (you will), step up to a DWC tote for $50–$100 and add basil, mint, and kale. At that point you're producing enough to meaningfully offset your grocery bill on fresh herbs.
Who shouldn't start with hydroponics: anyone expecting to grow tomatoes cheaply indoors, or anyone unwilling to check pH weekly. The pH part is genuinely non-negotiable — skip it and your plants will struggle regardless of how good everything else is.
The simplest path: Kratky jar, butterhead lettuce, a pH test kit. Master that, then decide how far you want to go.
Join 1,000+ growers getting one curated hydroponic tip every week — subscribe to the Hydroponics Central newsletter. Free, no spam.
Key Takeaways
Quick reference summary
- 1An indoor hydroponic garden grows plants 30–50% faster than soil using nutrient-rich water and LED lights — no yard or outdoor space needed.
- 2The cheapest way to start is a $30 Kratky jar setup — no pump, no electricity, first harvest of lettuce in 21 days.
- 3Monthly running costs range from $8 (countertop herb garden) to $35 (medium vertical tower), driven mostly by grow light electricity.
- 4Lettuce, basil, and mint are the best beginner crops — they tolerate mistakes and harvest in 3–5 weeks.
- 5Every system requires weekly pH monitoring (target 5.5–6.5) and nutrient top-ups — this is not zero-maintenance gardening.
- 6Smart garden systems ($200–$800) trade money for convenience; DIY setups ($30–$100) trade time for savings. Neither is objectively better.
Frequently Asked Questions
Common questions from our readers
Written by
Carl — Hydroponics CuratorI research hydroponics so you don't have to — going through university studies, extension programs, and grower communities to find what actually works for home growers.
I'm a content curator and researcher, not a licensed agronomist or commercial grower. Everything published here is sourced from credible third-party research, which is always linked inline. When in doubt, consult your local agricultural extension office. Learn more about how I research →
Found this helpful? Share it!